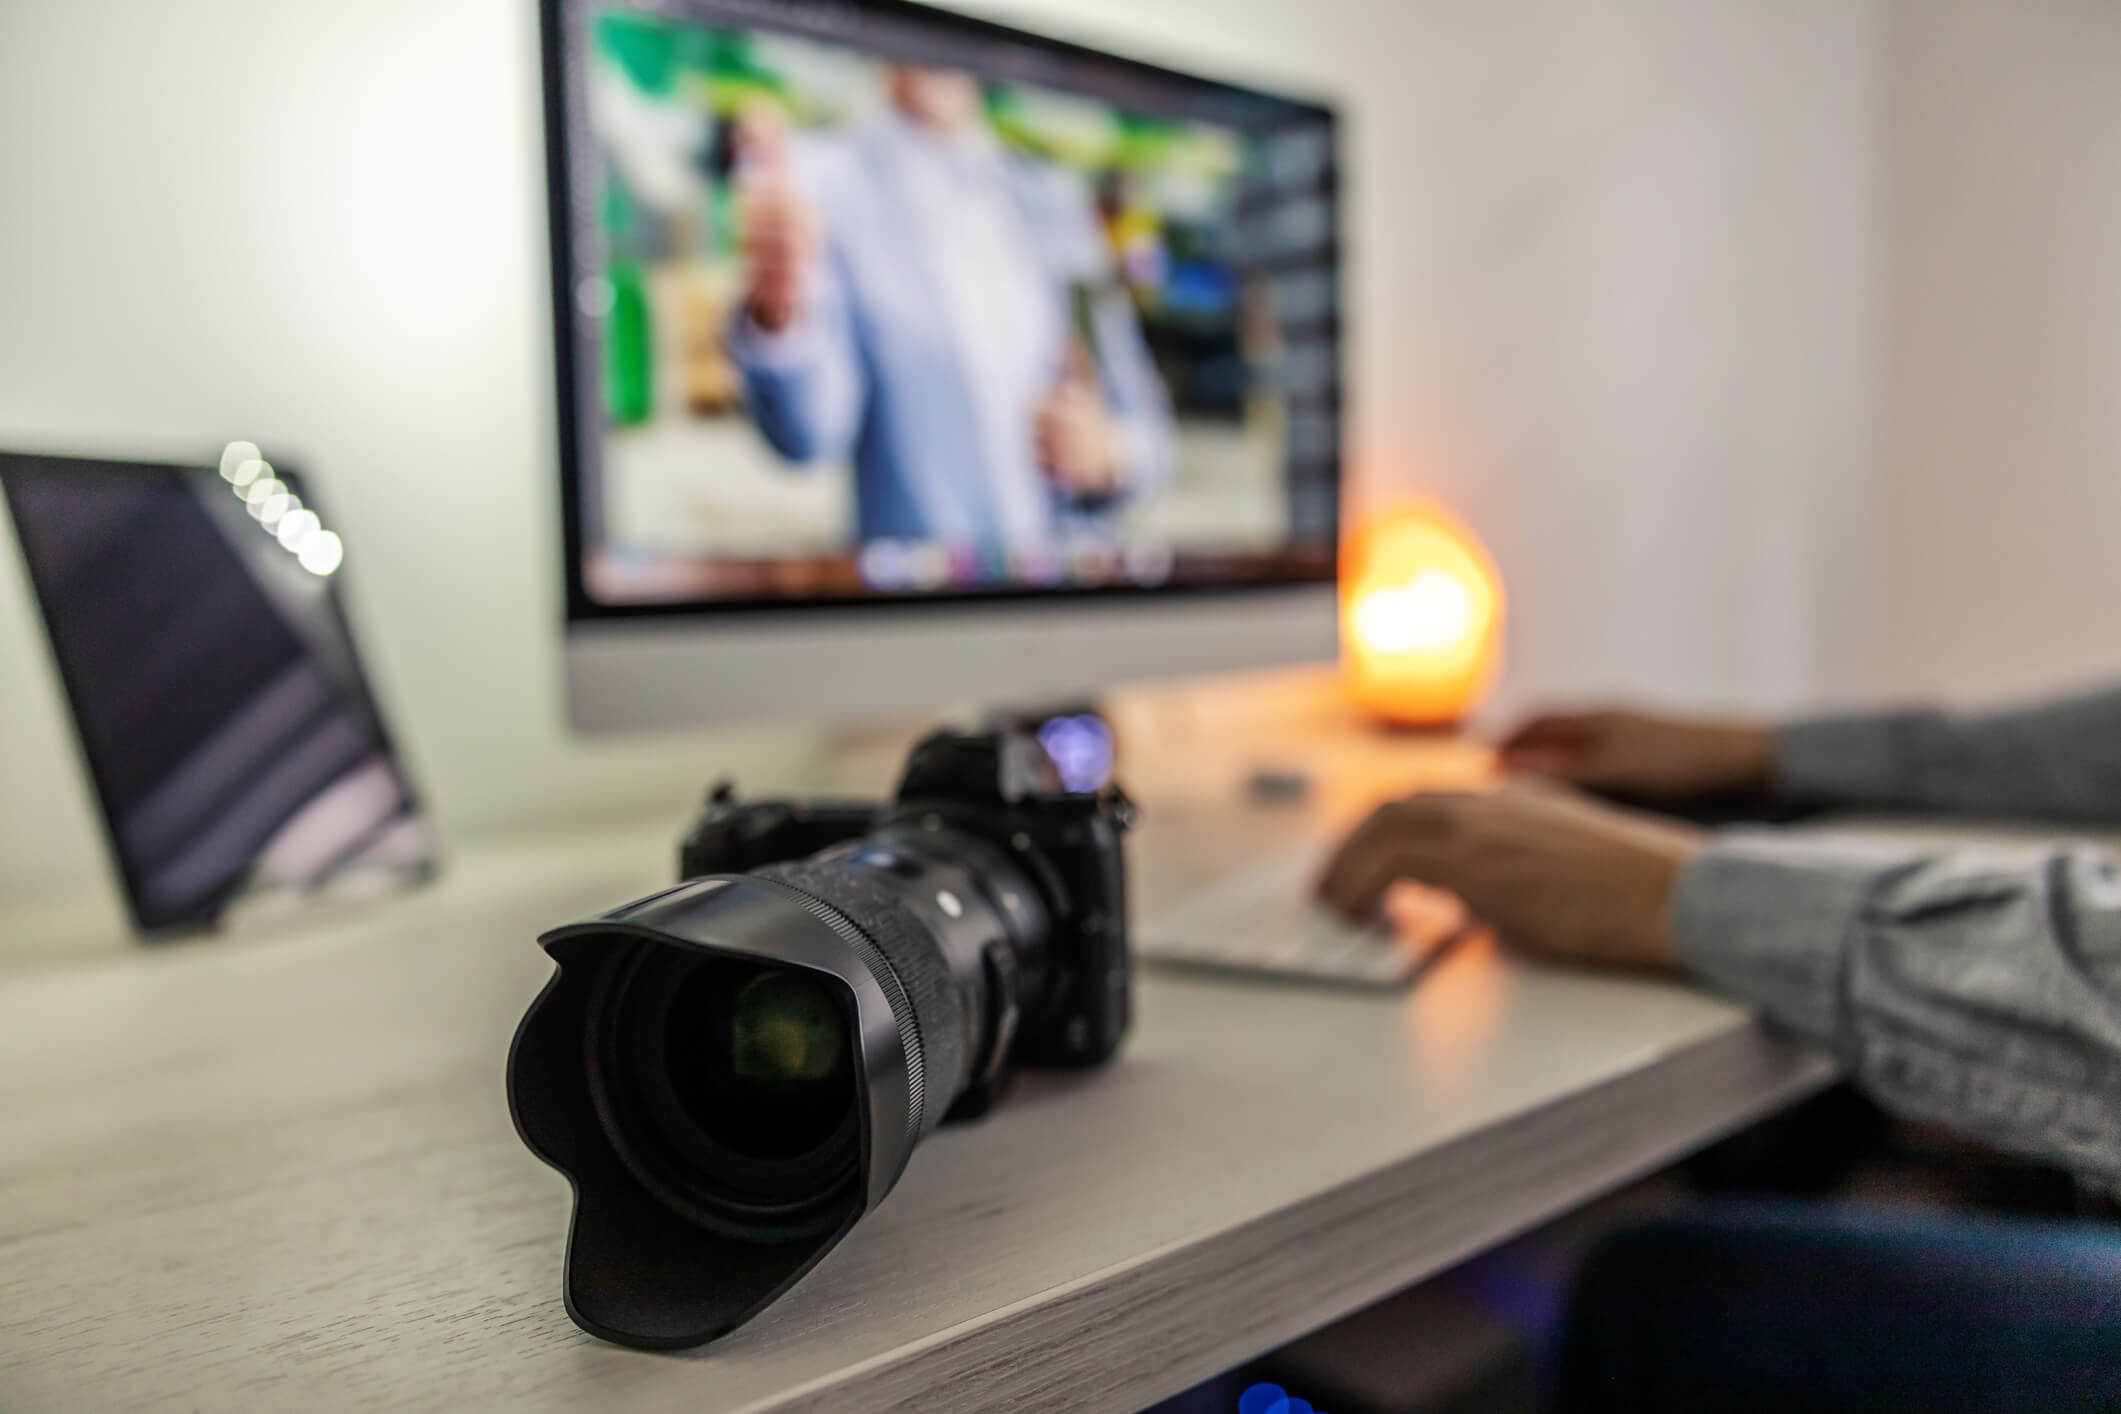
Have you ever captured a picture and stared at it for hours, wondering how to improve it? Are you searching for ways to give your photography a professional look? Recently, there has been a shift towards online image editors. With the development of advanced tools and software, you can edit your picture from any corner of the world or seek help from anyone. But as a beginner, you might be confused about where to start the process. Below are insights into digital image editing tactics.

Digital Image Editing
This term refers to the modification and improvement of digitally saved images with the help of software and various editing tools.
The Era of Image Editors
In the digital era, almost everyone is familiar with photo editing software, including the popular image editing software Photoshop. Some editors believe it ruins your photograph, while others use it to manipulate pictures.
Image Editing Tips for Beginners
Here are some image editing tips to help you better understand editing software.
Image flattening
This is the essential element of every digital image editing practice. As you cannot lay the foundation of a house without primary material, you cannot edit a photo perfectly with this step. It appears in “Camera Raw,” where you’re setting your image. You must open your photograph in Camera Raw and adjust the color temperature and exposure if needed.
Now set up the highlights slider between the range of -30 to -80 and the shadows slider within the scope of +30 to +80. If you want to darken your picture, make the highlights slider dull, flatten the shadows, and set the range in mid-tones. Your image will flatten out and might be looking dull.

To make your image look pretty, choose the proper contrast for it. Remember that by adding too much difference, your image will lose its natural look. Always use the proper toning techniques per your picture requirements in digital image editing.
Use of healing brush
In the next step, go for a healing brush instead of spot healing. It will let you choose your source points to heal. The healing tool helps you remove pimples, dark spots, skin inconsistencies, and background distractions.
You can also use this tool on landscapes, as it lets you eliminate little distractions and spots. However, it would be best to be more attentive to the small details to use this tool efficiently. Otherwise, your image will not meet expectations, and digital image editing will not work for you.
Clone stamp tool
Clone stamp tone lets you both lighten or darken your image. You can either apply it to your background or on your skin. Keep the opacity 15% and use it on those areas which do not contain many details. You can apply it to natural light shots, which do not include points. The frequency-separation option allows you to merge several transitions in the sky, ground, or shapes with fewer details.
Dodge and burn
This digital image editing software contains a feature shape and modifies the light as you choose. There are several ways through which you can dodge or burn your picture. You can set up the curve adjustment layer for brighter and darker exposure. The layer mask and brushes allow you to avoid and burn the best-fit place you want.
Dodge and burn tools can affect shadows, highlights, or mid-tones. You can darken or lighten a single side of your photograph to represent transition. You can do multiple things with the dodge and burn tool to beautify your image.

Frequency separation
Frequency separation is a tactic in digital image editing that makes your skin look smooth. Depending on the picture, you can use it extensively or in moderation. You can apply this tool to your clothes, backdrops, or skies.
Layer change
While using digital image editing software, you can use the layer change tool on almost every photograph. You need to open the B&W layer and modify the blending mode to soft light to make changes. After this, you will observe much contrast in your picture.
For this reason, keep the opacity between 20% to 60%. You can give your image a sharp look and change color-wise luminance on the white and black layers. You can get beautiful skin toning by altering the red and yellow colors.
Highlights with curves
You can change your image’s contrast through the curve adjustment layer. To make an S-shaped curve, you must bring down the top point from the right side and add a second one near it. This step gives your picture some unique color transitions.
Picture editing is no longer complex with a wide range of digital image editing software. You must be attentive and careful while working with different tools and following the image editing tips. This will nrevent you from a mishap bandadd a professional look to your photograph.
 About Complete Controller® – America’s Bookkeeping Experts Complete Controller is the Nation’s Leader in virtual bookkeeping, providing service to businesses and households alike. Utilizing Complete Controller’s technology, clients gain access to a cloud platform where their QuickBooks™️ file, critical financial documents, and back-office tools are hosted in an efficient SSO environment. Complete Controller’s team of certified US-based accounting professionals provide bookkeeping, record storage, performance reporting, and controller services including training, cash-flow management, budgeting and forecasting, process and controls advisement, and bill-pay. With flat-rate service plans, Complete Controller is the most cost-effective expert accounting solution for business, family-office, trusts, and households of any size or complexity.


